A couple of months ago, I picked up the Klymit Inertia XL on Groupon for just under $59 (I simply can't resist a good deal, since they retail for around $120). My initial experience with the sleeping pad proved it to be pretty light, comfortable and fairly easy to inflate - although I definitely got a little light-headed doing so (maybe I just have sub-par lung capacity, but the "4-5 breaths to inflate claim" didn't really hold true for me).
 |
| All set up |
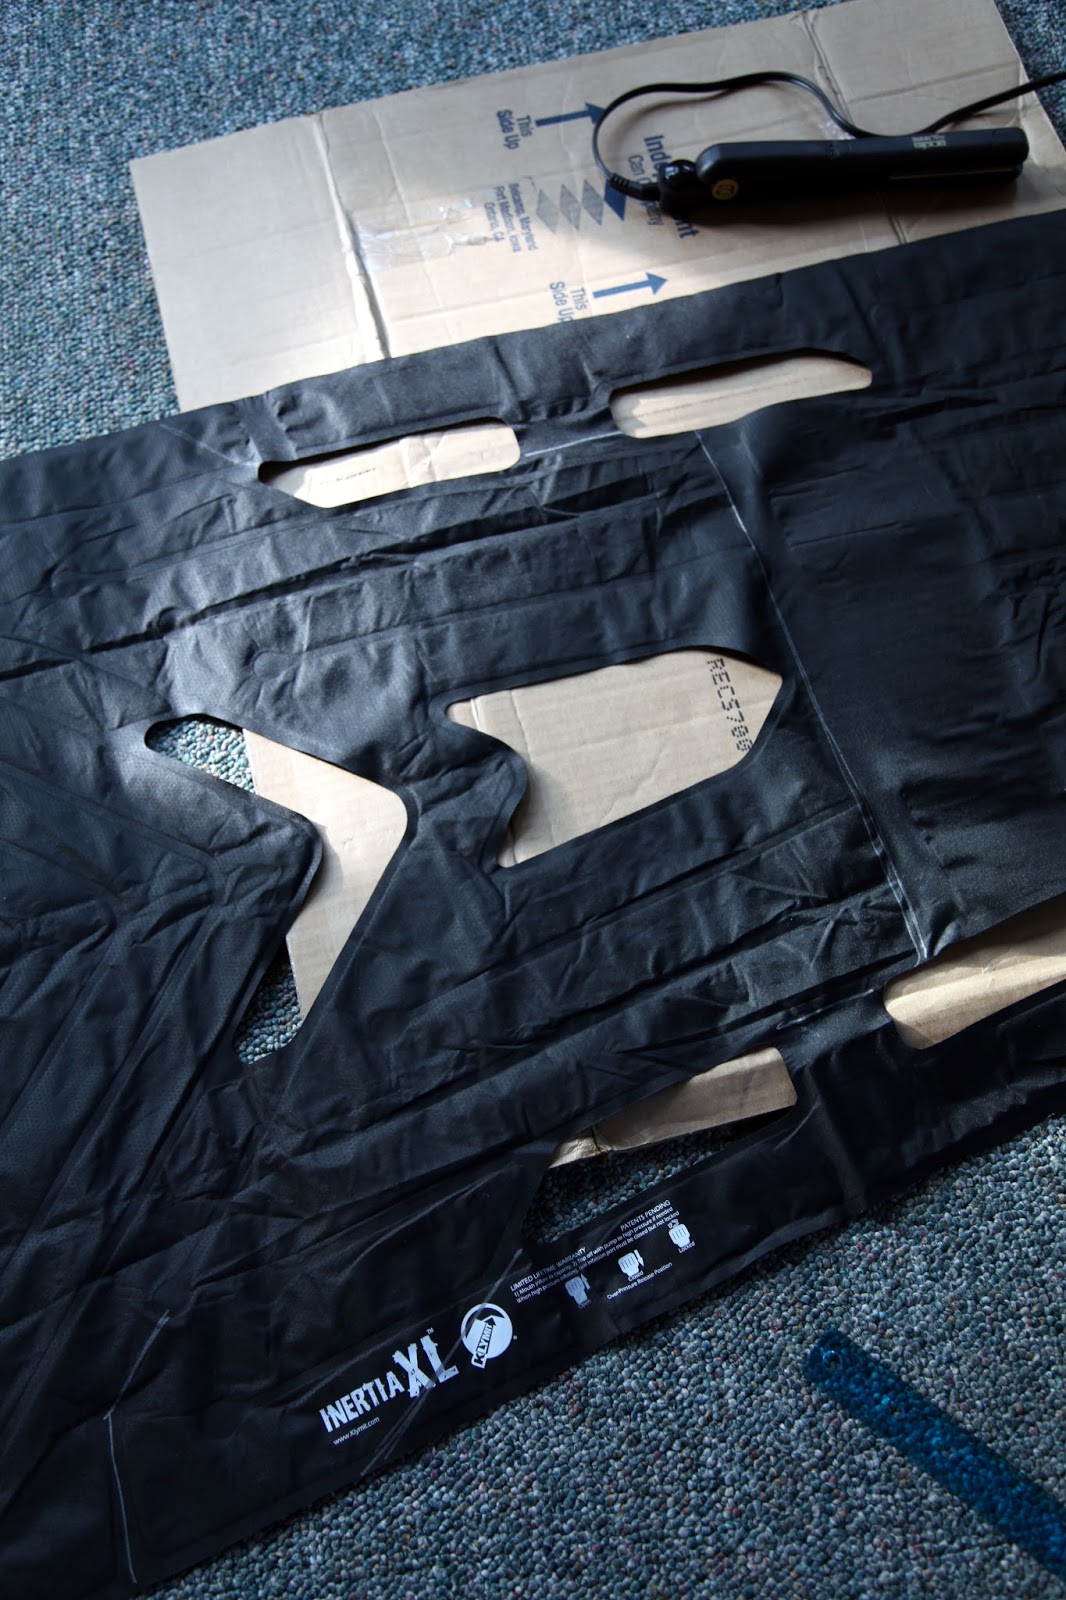 |
| Post-welding - you can see the "flat" area |
-A silver Sharpie to mark the weld lines
-A regular iron on high (no steam)
-A hair iron (I thought it might work well and offer a more precise weld...I also figured I might as well use it for something - it definitely doesn't get to iron my hair often!)
-Scissors
-Cardboard to iron on because I don't own an iron and have already once melted the carpet.
I didn't want to cut the pad super short, so I marked it off below the second arrow-like opening and heated up my instruments. The hair iron worked well on the two small side welds, but the clothes iron was definitely necessary for the large bottom weld since the hair iron couldn't reach that far in. I held and pressed (for probably longer than necessary) until I could see the "flattened-out look" similar to the pre-existing welds.
After letting the pad cool for a few minutes, I did a test inflation to make sure all my welds were secure before cutting the excess material off. After eyeing my first attempt, I decided to trim even a little more off the sides, so I did a second round of welding and trimming as you can see in the next two photos.
So far, everything seems to be holding together and my pad is now 58" long - my heels barely hang off the end - which works well enough for me. I also managed to fit it into my sleeping bag (Mountain Equipment Helium 600 +14 down - Women's) - it still seems a little snug especially as far as the width goes, and I may not be able to wiggle around much, but at least it's now an option.
Anyway, the whole point of doing this was in preparation for my upcoming trip to Iceland, where I will probably be sleeping in a tent for 2 weeks. I haven't taken this sleeping pad down to really cold temps yet so I'm not sure about the R-value and I'm hoping I don't get chilly...I will be bringing a really thin foam pad for a smidge more extra insulation. We shall see how it holds out in the field! For now the most exciting thing is that I can inflate it much more quickly and easily...I don't think I'll even need to bring the included pump, and one less thing to carry is one less thing to carry!
-Scissors
-Cardboard to iron on because I don't own an iron and have already once melted the carpet.
I didn't want to cut the pad super short, so I marked it off below the second arrow-like opening and heated up my instruments. The hair iron worked well on the two small side welds, but the clothes iron was definitely necessary for the large bottom weld since the hair iron couldn't reach that far in. I held and pressed (for probably longer than necessary) until I could see the "flattened-out look" similar to the pre-existing welds.
 |
| Test inflation! |
So far, everything seems to be holding together and my pad is now 58" long - my heels barely hang off the end - which works well enough for me. I also managed to fit it into my sleeping bag (Mountain Equipment Helium 600 +14 down - Women's) - it still seems a little snug especially as far as the width goes, and I may not be able to wiggle around much, but at least it's now an option.
 |
| First attempt! |
 |
| A smidge more streamlined! |
No comments:
Post a Comment